Custom Objects
Overview
A custom object is an object that doesn't come as a built in part of the system and is created by the user.
Custom objects can help the user tailor the system to the specific needs of their business.
For each custom object, new fields can be created and customized to hold information about values relevant to that object.
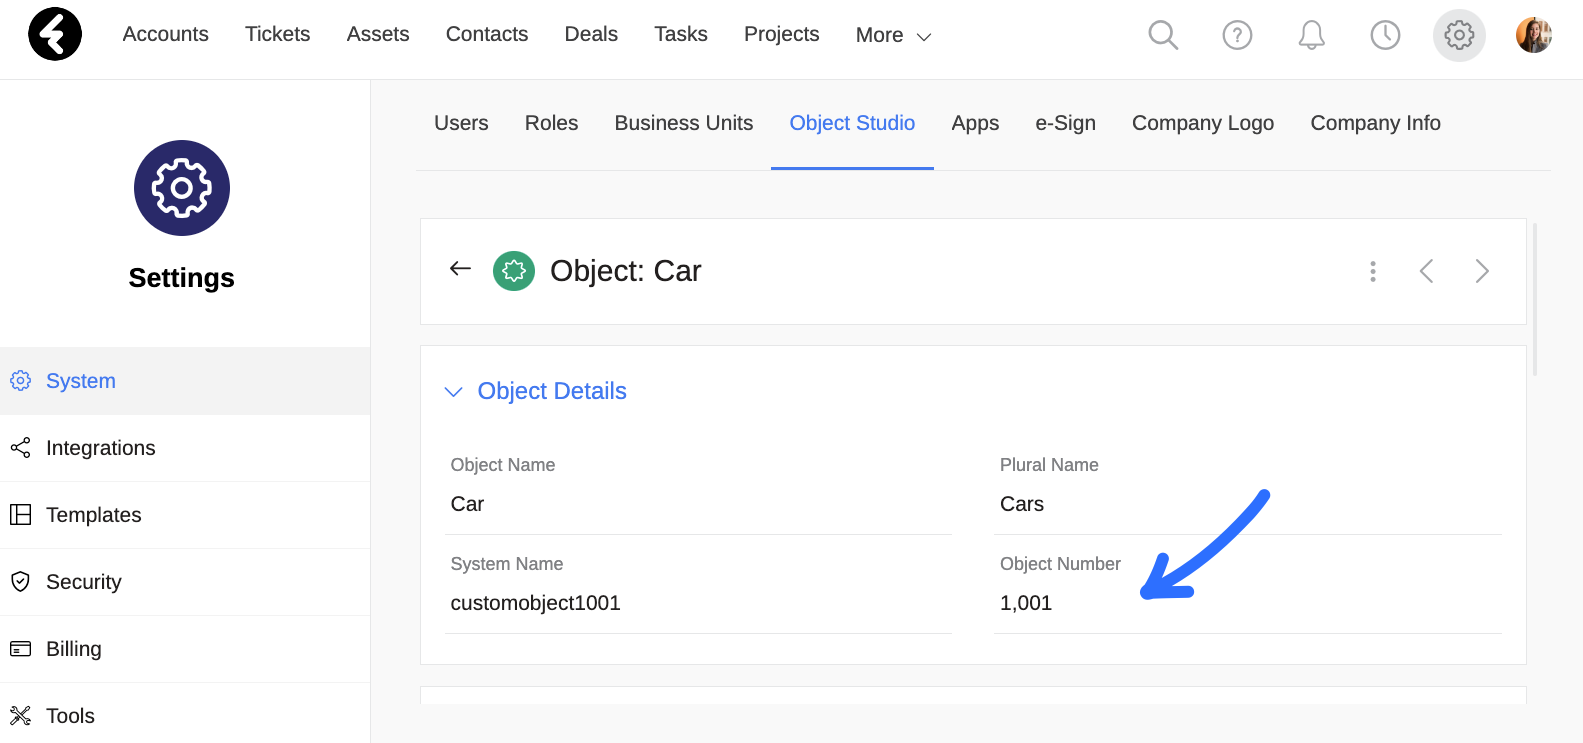
Object number
Each object in the system has a number that represents it and through which all requests can be made. The custom object's numbering starts from 1000 and goes up for each object created. Custom objects behave exactly like regular objects in the system.
An additional important detail is that it is possible to put the object number in the endpoint instead of its system name. This means that either the system name of the object or its number can be placed in the endpoint.
A custom object can perform all types of requests such as: GET, POST, PUT, and DELETE, and in addition, it is possible to create custom fields for it.
Please noteUnlike built in system objects, any custom object can be deleted.
Custom object example
Many businesses need custom objects to represent individual aspects of their operation. For example, a car dealership may require a custom object "Cars", which will hold information about all the different cars in the dealership. As seen in the picture below, the system has assigned the number 1001 to the custom object, which is greater than 1000. This object can have custom fields which hold relevant information about the vehicle, such as the type of vehicle, model, color, and more.

Working with Custom Objects
To create a custom object using the API, use this reference. You can also choose to update an existing object’s settings, as is explained here. If you’d like to delete a custom object, you can use the reference found here. Note that you will not be able to delete an object which is currently in use within the system by a field, dashboard widget, or automation. In these cases, you’ll receive an error message and will have to delete any system uses and then go back and delete the object. To learn more about deleting custom objects, check out this article from our help center.
To edit or delete a custom object, you’ll need to use its GUID, which you can learn how to access here.
Working with Object Records
Records store data in the system according to a specific object type. Most records can be accessed using the API in order to update their data or delete them. Records may belong to either a built in or a custom object type. When accessing a record which belongs to a built in object, you can use the API references found under the heading of the object type. If you’d like to work with records which belong to a custom object, you’ll need to use the custom object references found here and use the custom object’s number to specify the object type.
To access an object’s number, first go to the system settings and open the Object Studio. Then select the desired object and copy the Object Number field. This lets the system know which object you’re using.
Once you’ve found the relevant object number, you can use it to get all, get, create, update, or delete custom object records. Use the references here under Custom Object Records.
Updated about 1 year ago